First Steps
- Your TenantID
- Having executed you first steps on Data Platform, setting up your admin account.
For the tutorial below, we consider the tenantID=
demo.
You can browse to your Keycloak console URL, and browse to https://keycloak.centiloc.com/auth/admin/<tenantID>/console/
Enter Username admin and the password you have previously configured.
Press Sign In.
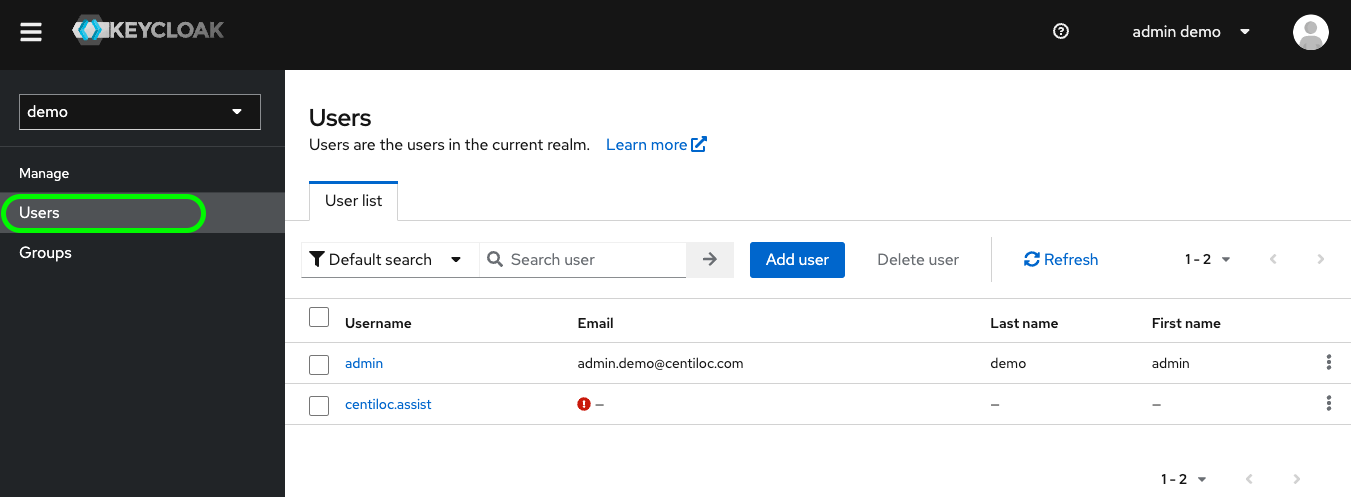
With Users, you can create, delete, edit and configure Users roles and attributes:
Click on Edit button for admin user. This enters the profile page of the user.
admin account can edit any parameter of any user.
The only required parameter which is required is User Enabled. With this disabled, the user cannot log in any Centiloc services.
Then you have different tabs:
Credentials: helping to manage the user passwordRoleMappings: allowing overriding group inheritance rolesGroups: in order to set user in groupsConsents: not useful for nowSessions: giving a view of the sessions opened for the user
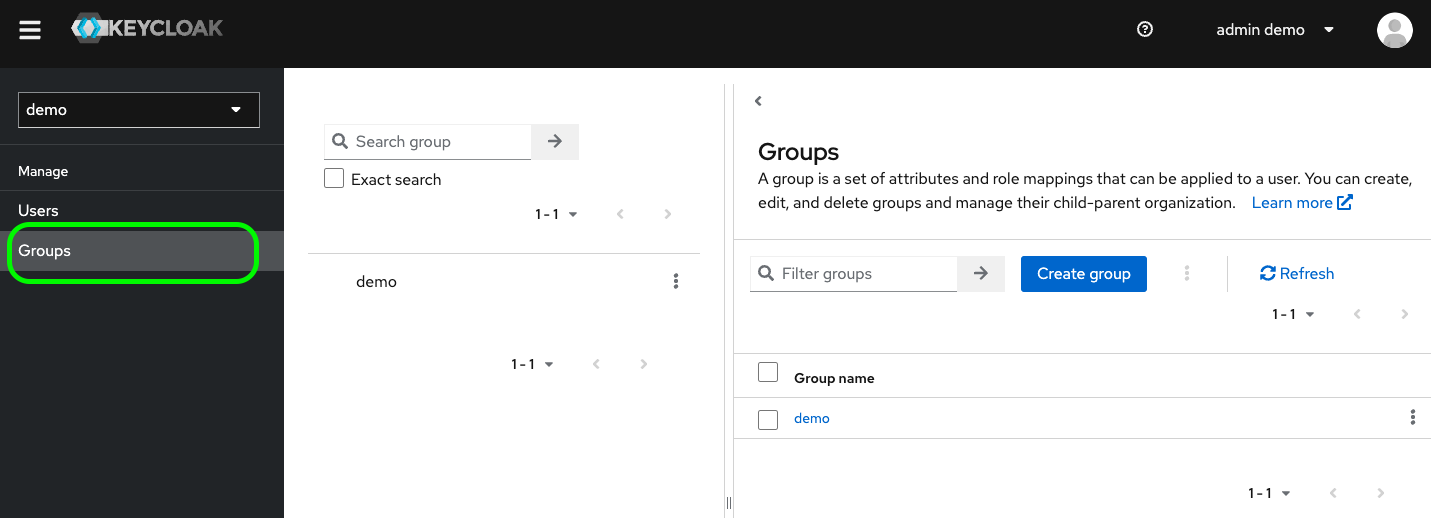
You can now browse to the group page, pressins Groups menu on the left of this page:
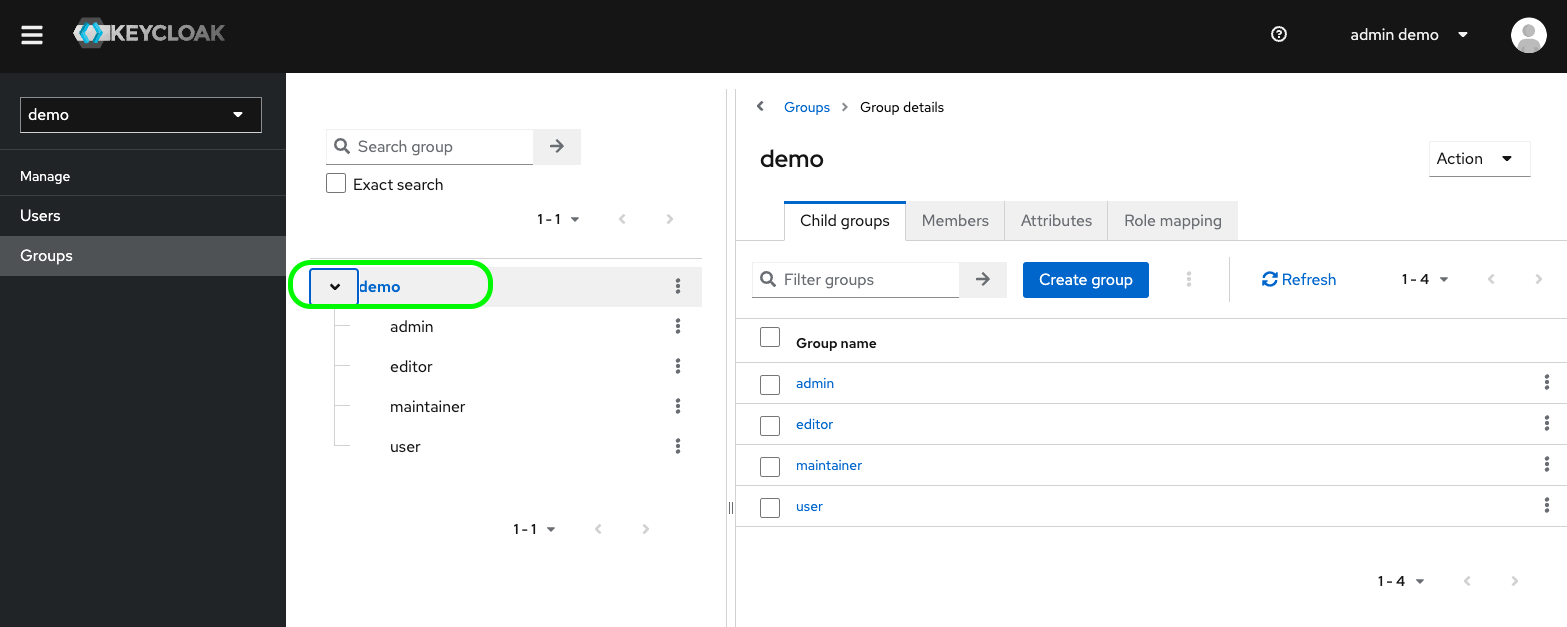
To see the hierarchy behind the main group demo, you can click on it on the middle panel:
You can see here few default groups, which are configured to the roles available.
Click on editor, for instance, and use the right Edit button to enter the group’s configuration.
You can see different tabs:
Settings: you can use to change the group’s nameAttributes: used for user access configurationRoleMappings: in order to set roles to the groupMembers: to list the Users member of the group


