First Steps
This tutorial shows how to get a first feedback on a freshly received Board connected in WiFi.
- A Centiloc Board
- NFC Tags
- Your TenantID
- Having an account with user rights at least
Your first Centui connection is described in previous section.
Let’s browse to https://demo.centui.centiloc.com, and log with your configured account.
Enter the box number 2 named Boards.
Look at the bottom of your Board. You can see a Serial Number composed of 12 caracters.
If you have multiple Boards reference in your list, you case use filters to select only some boards.
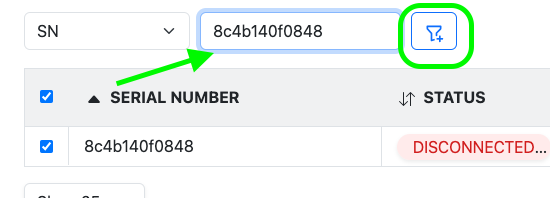
Click Filter…, choose SN, then enter your Board’s Serial Number, then +.
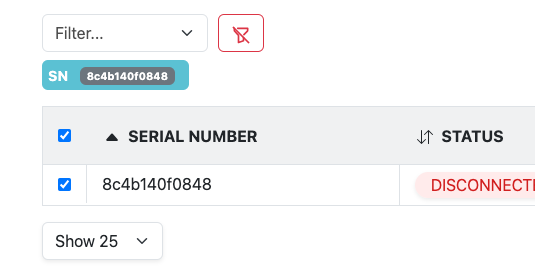
You can see now only the Board you were looking for:
Now we will try to connect our Board to the Data Platform.
The Board needs to connect to the internet. To do so, we need to set up a WiFi access point providing access to the internet over ports: 8883 and 123.
You can use your smartphone in hot spot mode. It usually works well.
Checkout WiFi requirements, especially the 2.4GHz network.
- SSID:
CentiWifi - Password:
Default01
When ordering boards, you can request another default password for your Boards!
While the WiFi network is visible and accessible, power the Board up.
The board must be connected to the internet.
To do this, please make sure it is connected to a network that allows internet access through the following ports: 8883 and 123.
Connect the Ethernet cable from your network switch to the CADS device, then turn on the CADS.
If the Ethernet connection is unavailable for any reason, the CADS will automatically attempt to connect to a Wi-Fi network.
When ordering boards, you can request to disable Wi-Fi if desired.
After few seconds, (for a first connection, maybe 60 seconds), refresh your centui page.
You should see the Board having a CONNECTED.
Now that the board is connected, we can see any NFC tag on it. Click the eye 👁️ button of the Board:
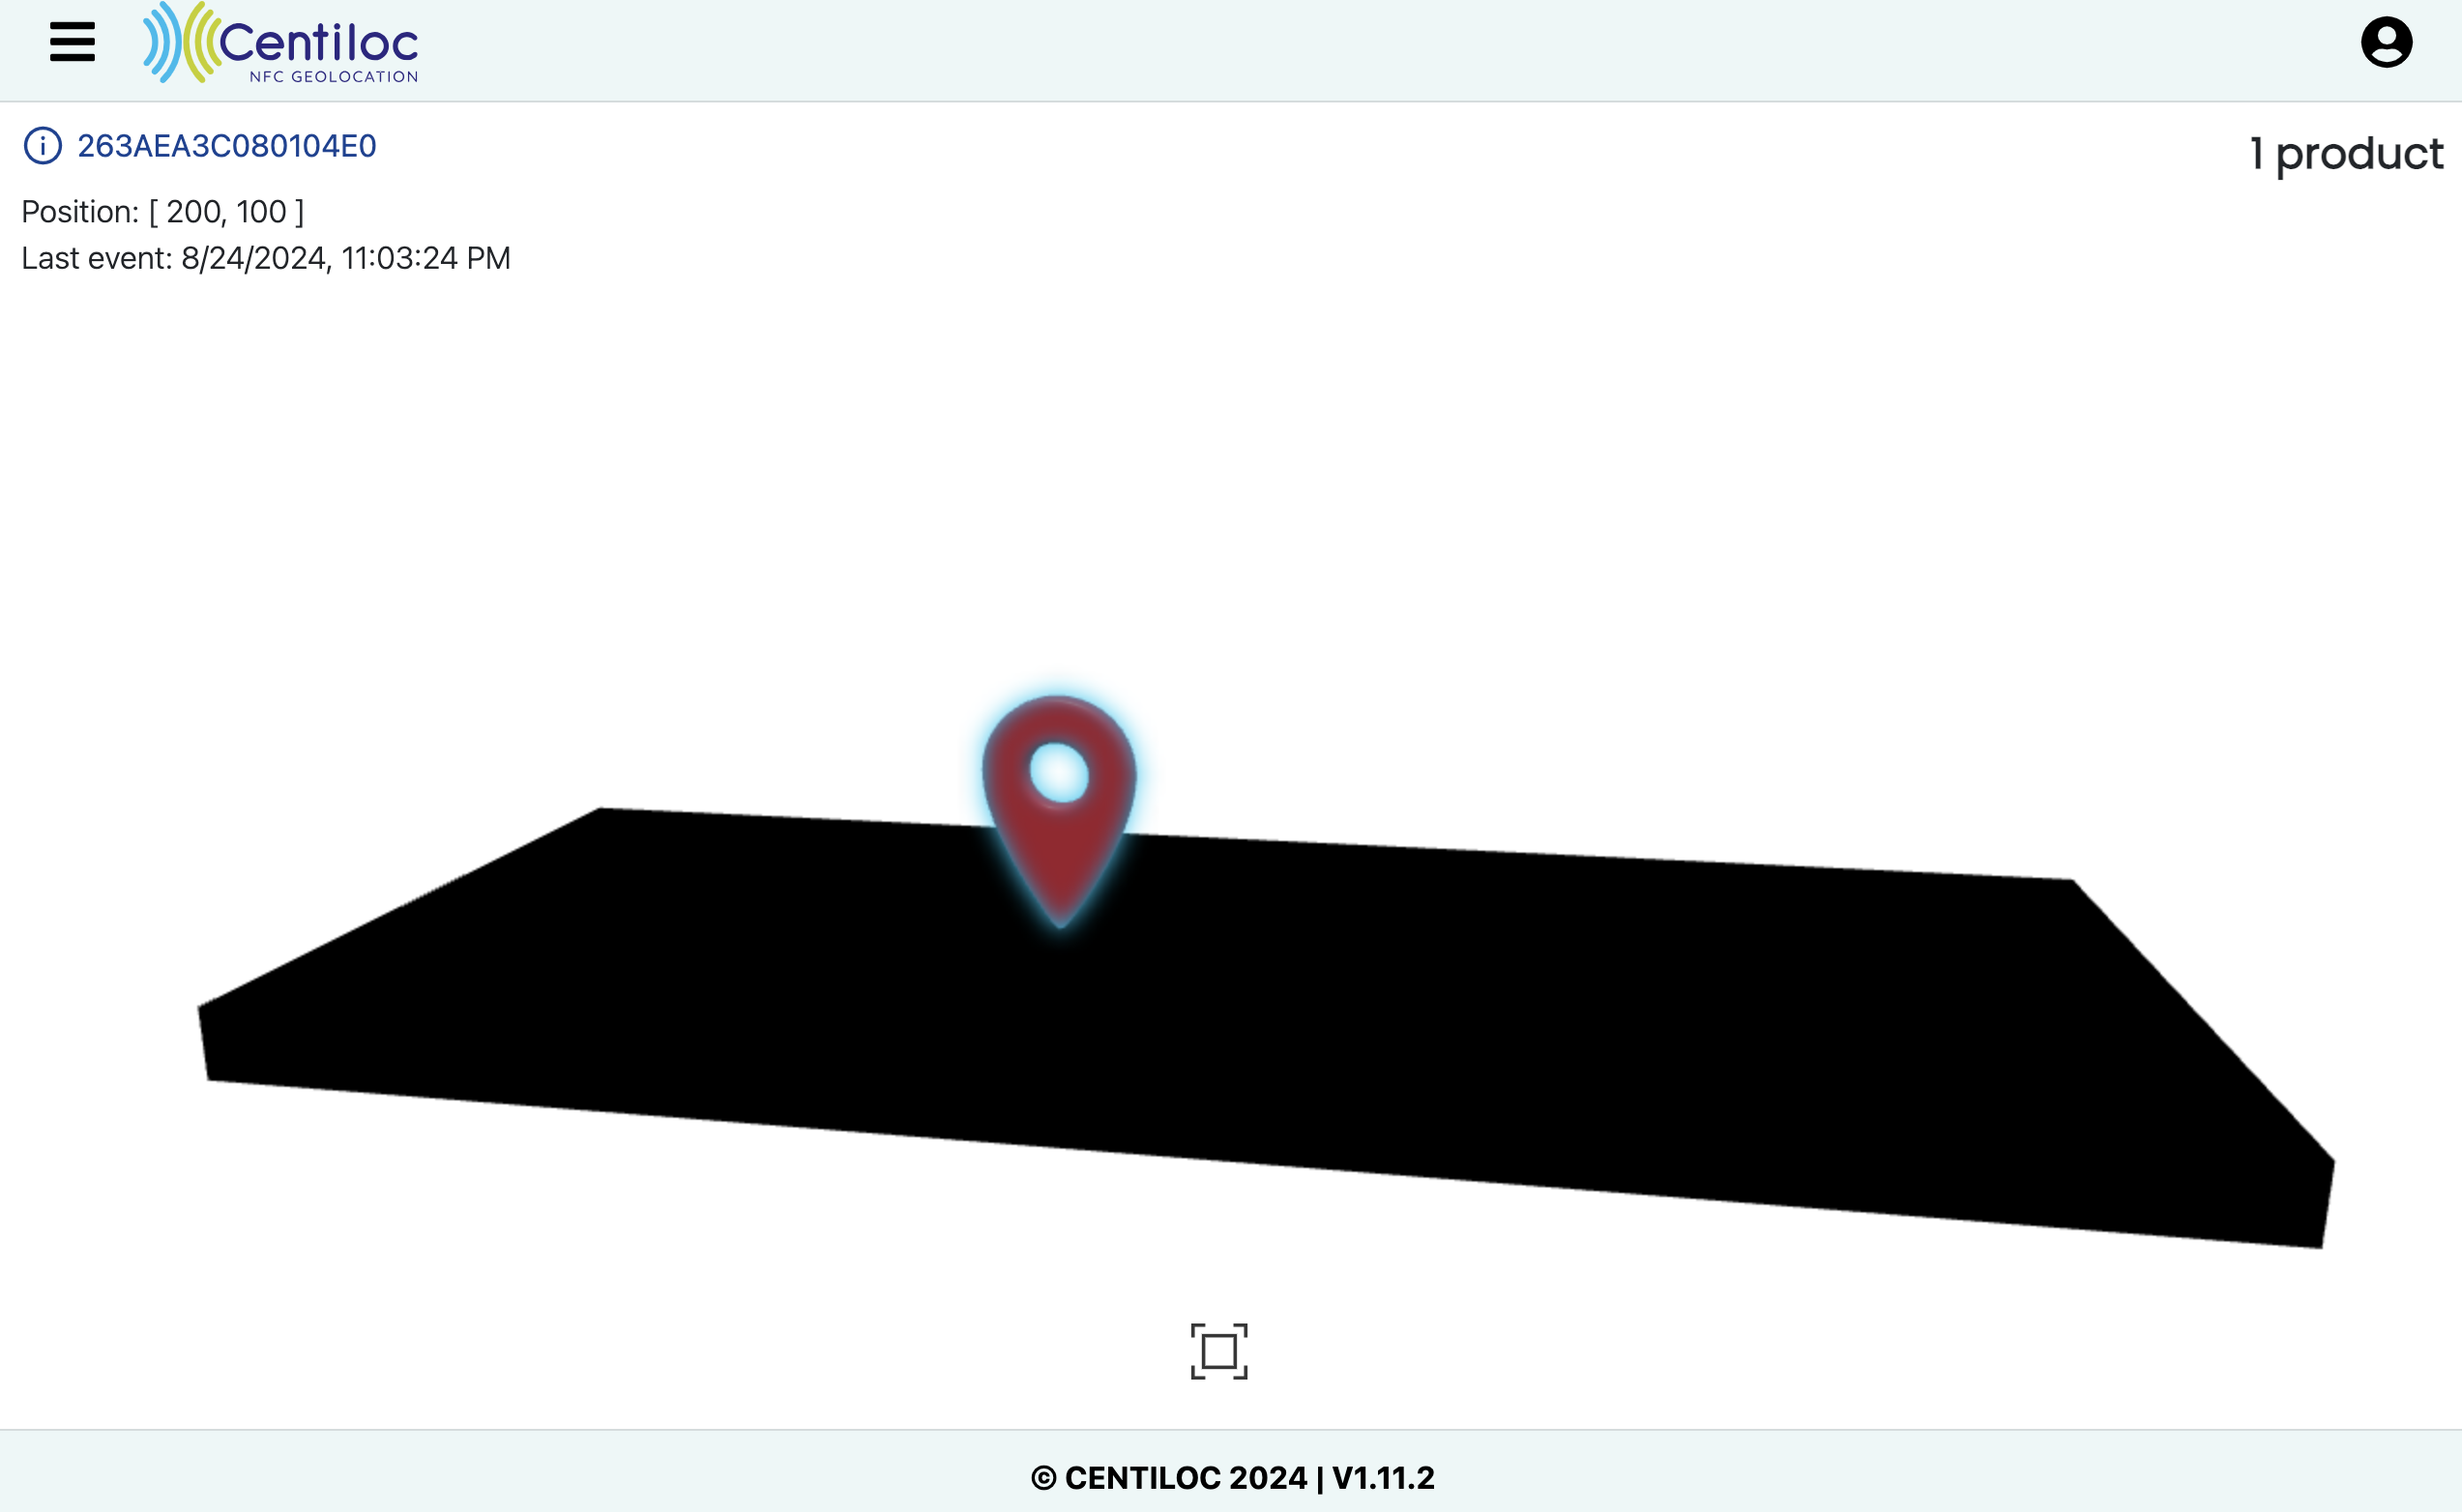
You can now put NFC tags on the board. You should see them appear in your web page:
Clicking on NFC tag representation (card) or on Board representation will display some information on the left.
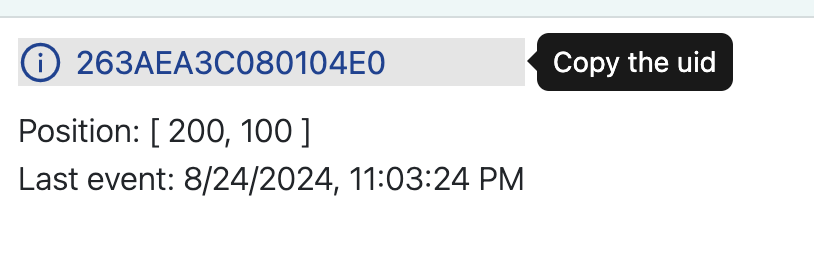
💡 In this information, you can click the tag UID or Board Serial Number for immediate copy to your clipboard.
💡 If you double-click the NFC tag representation or the Board representation, you will be redirected to the Item list or the Board list, with an active filter on the target NFC Tag UID or Board Serial Number. Try it!


